Last updated November 21, 2026
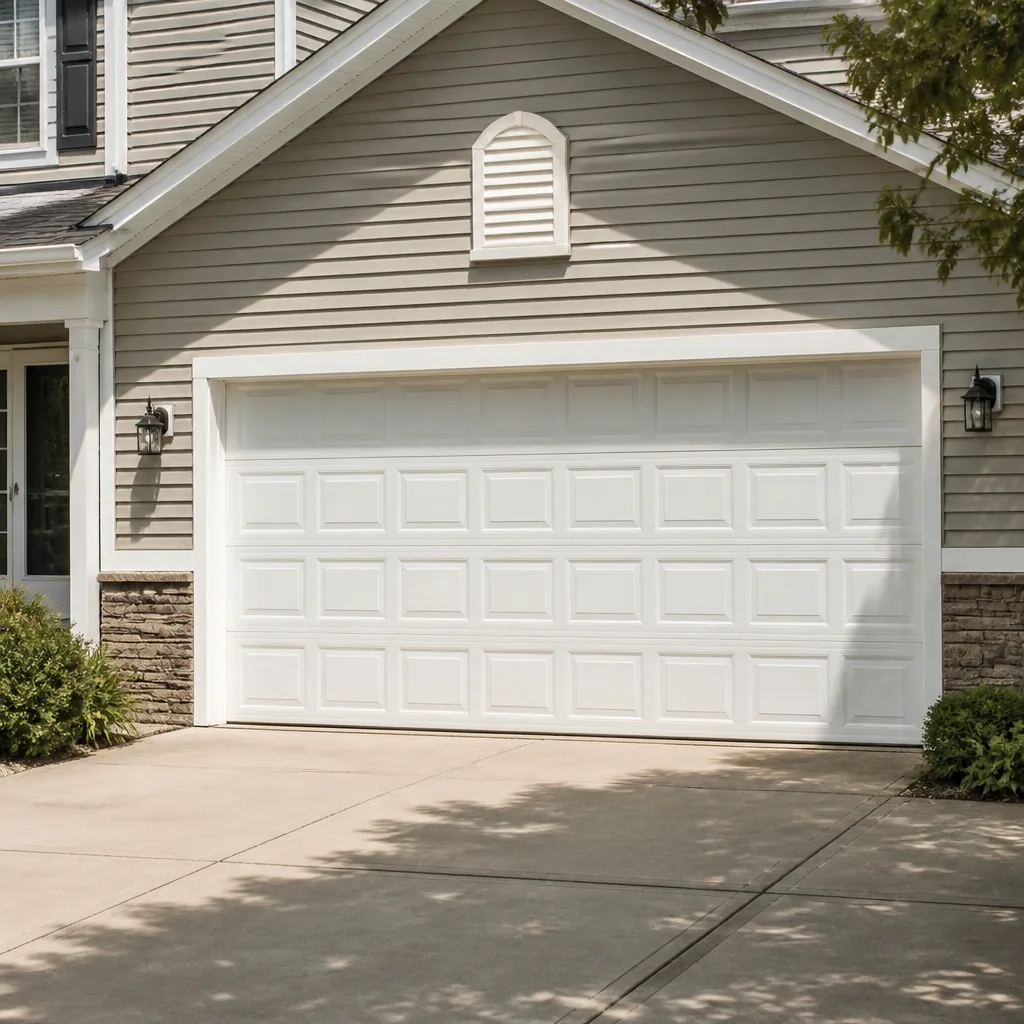 Raised-panel steel
 Carriage house
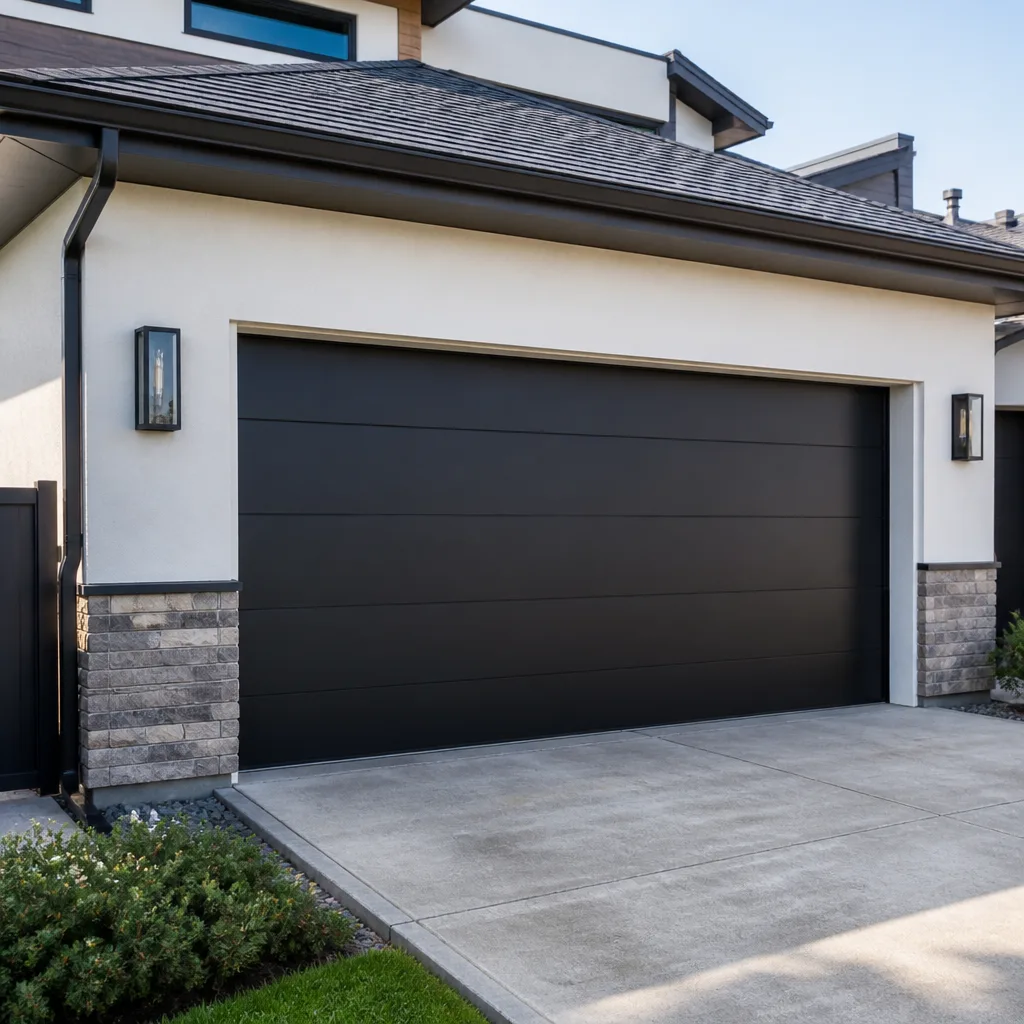 Modern flush
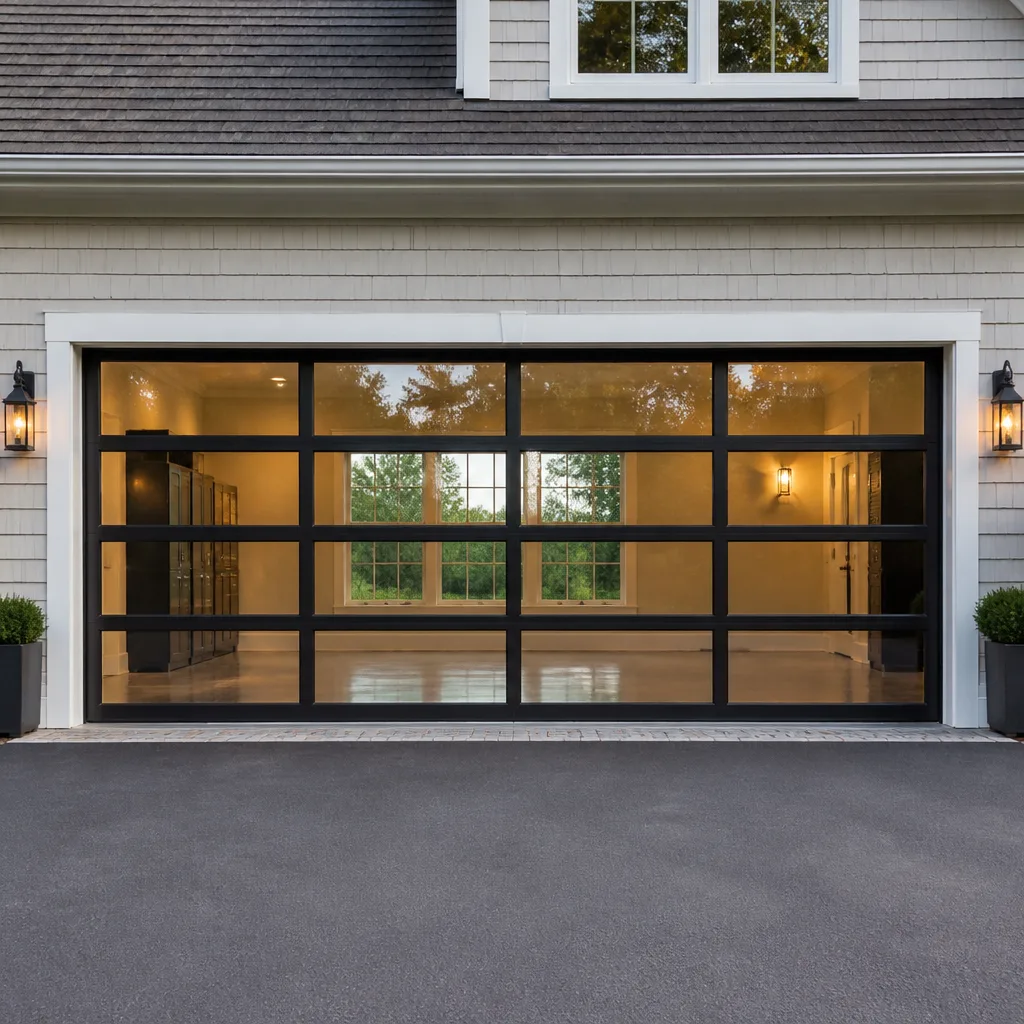 Full-view glass
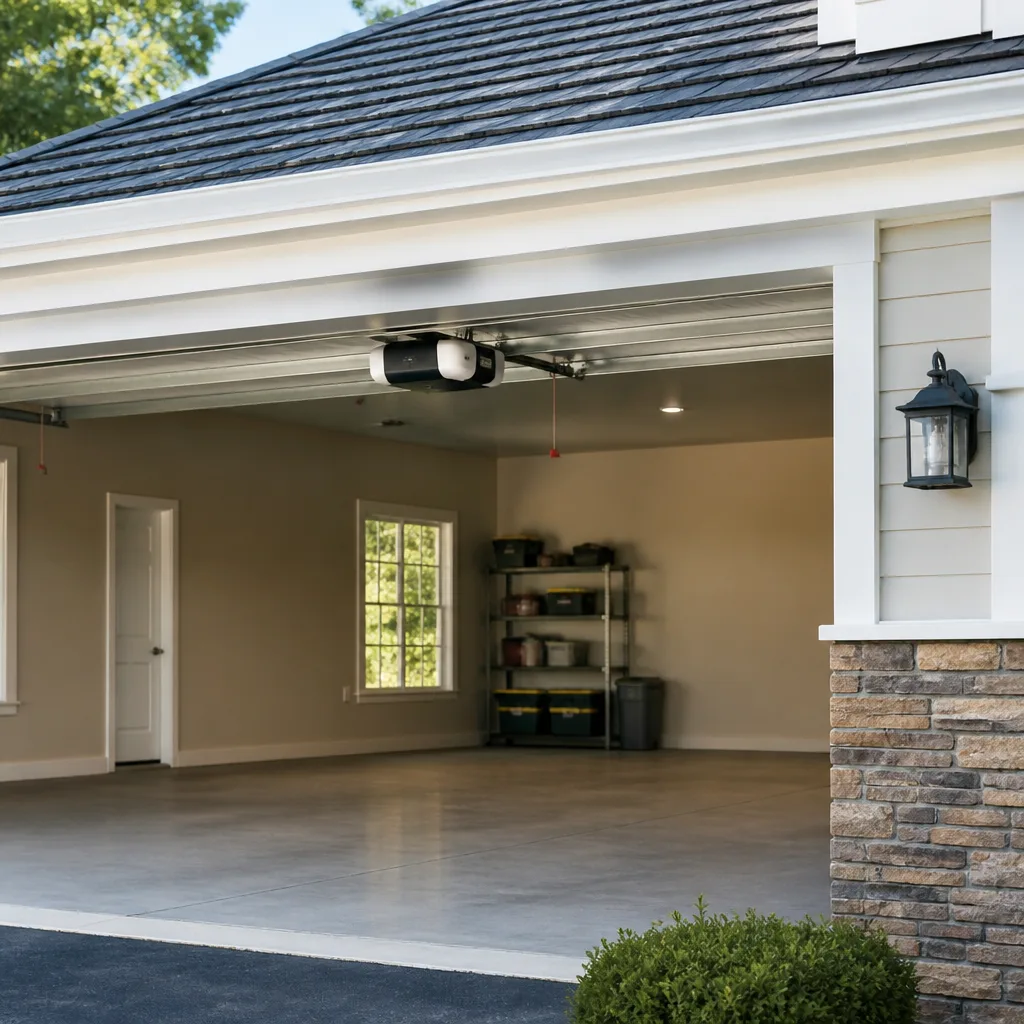 LiftMaster openers
 Chamberlain openers
Full 25-point door and opener safety check with every visit - springs, cables, rollers, tracks, and your LiftMaster or Chamberlain opener included
You get a price before we start. It does not change when the pro arrives.
Get your free estimateGarage Door Repair Maintenance Checklist for Fishers Homeowners
The call we get most often in Fishers isn’t about a snapped spring or a dead opener. It’s about a door that jumped its track, and almost every one of those calls traces back to a $4 roller that had been grinding for two years. Homeowners replace the big, obvious parts and ignore the cheap ones that wear out first. What follows isn’t a random to-do list. It’s the inspection order our technicians actually use: hardware before springs, springs before cables, cables before the opener. That sequence isn’t fussiness. Each part fails in a way that damages the next part down the line, so checking them in order is how you catch money problems while they’re still cheap. By the end you’ll know what’s safe to handle yourself, what needs a trained hand, and what to check before a Fishers winter sets in.
Quick Answer
A garage door maintenance checklist works best in diagnostic order: inspect and lubricate rollers, hinges, and tracks first, then test the springs and cables for wear, then check the opener’s balance and safety features. Most of the work is visual inspection and lubrication you can do yourself. Spring and cable adjustments are high-tension work and belong to a trained technician. In Fishers, run the check twice a year, and always in October before the first freeze.
Styles & brands we work with
- Raised-panel steel
- Carriage house
- Modern flush
- Full-view glass
- LiftMaster openers
- Chamberlain openers
Table of Contents
- Why the Order of Inspection Matters More Than the List Itself
- Step 1: Hardware, Rollers, and Tracks (The Cheap Parts That Fail First)
- Step 2: Springs (What to Look At, Never What to Touch)
- Step 3: Cables and Drums
- Step 4: The Balance Test and What Half an Inch of Drift Means
- Step 5: The Opener, Safety Sensors, and Force Settings
- Step 6: Lubrication Done Right (and the WD-40 Mistake)
- The Fishers Seasonal Calendar: What to Check Before a Hard Freeze
- DIY-Safe vs. Technician-Only: Where the Line Sits and Why
Why the Order of Inspection Matters More Than the List Itself
Parts on a garage door wear in a chain. A dry roller creates friction, friction puts lateral pressure on the track, and a slightly bent track throws the door off level, which makes the opener work harder. By the time a homeowner notices the door shuddering, the original problem – a roller that costs less than a cup of coffee – has been quietly damaging three other components. That’s why the order matters. If you check the opener first, you’ll replace a perfectly good motor that was only struggling because everything downstream of it was dragging.
The same logic applies to springs and cables. A worn spring changes the door’s weight balance. An unbalanced door puts uneven load on the cables, and one cable carries more than it was designed to. A cable that frays under that load is a genuine safety hazard, because when a cable lets go on a torsion system, the door drops. The chain runs one direction: hardware stresses springs, springs stress cables, cables stress the opener. Check them backwards and you’ll miss the cause while chasing the symptom.
In our experience in Fishers, this is the single biggest reason a cheap repair turns into an expensive one. Homeowners who follow a random checklist often skip the rollers because they look fine. They aren’t fine. A roller with a worn bearing spins freely in your hand but binds under load, and that’s the wear you can’t see from the outside.
Step 1: Hardware, Rollers, and Tracks (The Cheap Parts That Fail First)
Start at the bottom and work up. Every door has a set of rollers, hinges, and a track on each side, and this is the layer where most preventable failures live. You’re not fixing anything here – you’re looking and listening.
Do a slow, quiet pass with the door moving by hand. You’re listening for grinding, squealing, or a rhythmic thump that speeds up as the door moves. Grinding usually means a dry or seized roller bearing. Squealing points to hinges. A thump that repeats at the same point in the travel often means a bent or worn roller that’s catching on the same spot every pass.
- Rollers: Look for flat spots, cracks in the wheel, wobble, or a bearing that doesn’t turn smoothly. A roller that rattles in its stem is done.
- Hinges: Check for loose screws, wear at the knuckle, and rust. A hinge that’s pulling away from the door panel is a track risk.
- Tracks: Run your hand along the inside edge of each vertical and horizontal track. Feel for dents, kinks, or debris. Check that the vertical tracks are plumb and parallel with a level if you have one.
- Panels: Look for cracking, separation at the seams, and loose hardware. In Fishers, panels get checked closely on the south-facing door where sun and temperature swing do the most work.
- Weather seal: A brittle bottom seal lets water and cold air in and adds drag. If it’s cracked or torn, it’s an easy owner replacement.
Hardware comes first because it’s the cheapest layer to fix and the most common cause of the expensive layer above it. If the rollers and hinges are sound, the spring check that follows is meaningful. If they aren’t, fix them before you judge anything else.
Step 2: Springs (What to Look At, Never What to Touch)
Look at your springs; don’t touch them. Springs on a garage door are under enough tension to cause serious injury, and they’re the one part of this checklist where a confident homeowner can get hurt. A trained technician handles spring adjustment and replacement because the tension has to be released and reset in a controlled way. There’s no safe shortcut, and any guide that walks you through it is doing you a disservice.
You can still inspect them visually, which tells you plenty. There are two types on residential doors. Torsion springs run across the top of the door on a shaft, usually one on each side or a single spring on lighter doors. Extension springs run along the horizontal tracks on each side. Torsion is the more common configuration here, including on most Clopay and Amarr doors we see.
- Torsion springs: Look for a visible gap in the coil, a spring that looks stretched unevenly, or rust at the coil ends. A door that suddenly feels much heavier or won’t stay open on its own usually means a spring has lost tension or broken.
- Extension springs: Check for stretched coils, gaps between the coils, and rust. Also check that the safety cables running through each spring are intact – those cables contain the spring if it breaks.
- Both types: Rust is the quiet killer. Springs are steel under constant load, and Fishers humidity and winter road salt tracked in on wet tires both accelerate corrosion.
If the door won’t hold open or feels alarmingly heavy, stop using the door and get a technician out. A garage door that drops is a real hazard, and continuing to run the opener against a failing spring or a dead spring wears the motor down too. Our spring work is a dedicated service precisely because this is the part of the system where training matters most.
Step 3: Cables and Drums
Cables do the actual lifting alongside the springs, and they’re the part homeowners most often skip. On a torsion system there’s a cable on each side, running from a drum at the top of the door down to a bracket at the bottom. On an extension system the cables run along the sides. Inspect them visually and by hand, but never when the door is under tension in a position where a snap could catch you. Look for the whole cable, not just the visible middle section.
- Fraying: Any broken strands, fuzziness, or a burr on the cable means replacement. A frayed cable is a cable that’s failed, even if it hasn’t snapped yet.
- Rust: Surface rust is normal; deep pitting or rust that thins the cable is not. Our Fishers winters are the main cause.
- Loose or slack cable: A cable that’s hanging loose on one side of the door is a sign of a tension problem or an uneven spring. This is a stop-using-the-door situation, not a keep-an-eye-on-it situation.
- Drums: Check that the cable is winding along the drum evenly, without crossing over itself. A cable that jumps the drum is dragging and needs attention before it frays.
Cables are checked after springs because spring health determines cable load. If a spring has gone weak, the cable on that side is doing more than its share, and that’s the cable that frays first. Catching cables after springs means you’re looking at the right side, in the right light, at the right time.
Step 4: The Balance Test and What Half an Inch of Drift Means
The balance test is the quickest way to know how healthy the whole system is, and it takes about a minute. Disconnect the opener with the manual release pull, or use a door without one. Raise the door halfway by hand, slowly, and stop it around the midpoint. Let go. A healthy door sits still. A door that drifts down has lost spring tension. A door that drifts up is over-sprung or has a cable or drum issue. Repeat it with the door about a quarter of the way up and then three-quarters of the way up.
If the door drifts half an inch over a few seconds, that’s on the edge. Half an inch is close to normal and can be seasonal as temperatures change, but it’s your cue to watch it. If it drifts several inches or falls, that’s a balance problem and the door should come off the opener until it’s fixed. Running an unbalanced door strains the opener’s gear and rail and is a common route to garage door opener repair.
What a half-inch of drift actually means: it usually points to a small loss of spring tension or a cable that’s starting to run unevenly, not a failure. Half an inch is the door telling you to check the springs and cables again in a few weeks. In Fishers, you can expect some seasonal movement between a humid summer and a cold January. A door that balances cleanly in July and drifts a bit in February isn’t necessarily failing – but a door that drifts in one direction every time you test it needs a technician’s eye.
Step 5: The Opener, Safety Sensors, and Force Settings
The opener comes last on purpose. Once the hardware, springs, and cables are sound, the opener’s behavior is meaningful. Before that, a struggling opener tells you almost nothing because it’s compensating for drag upstream. Check the opener the same way you check everything else: look, listen, test.
- Safety reversal: Place a solid object, like a brick, on the floor under the middle of the door and close it. The door should reverse on contact. Don’t test this by reaching under a moving door.
- Photo-eye sensors: These are the two small lenses near the floor on each side. Wipe them clean and check that the indicator lights on both are steady. Wave your hand through the beam and confirm the door reverses.
- Chain or belt: A slack chain clanks and bangs; a worn belt runs quiet or slips. Check the rail for grime and listen for the opener to strain.
- Force settings: If the opener has to push harder than it used to, the door is heavy and the opener is compensating. That’s your cue that something above it is worn.
Brand matters here. The openers we tune most often are LiftMaster, Chamberlain, Genie, and Craftsman, and a Genie from one era behaves differently from a newer belt-drive. We work on the brand already in your garage, so a diagnostics call gets straight to the right checks instead of guessing at the panel. That’s the value of coming out already knowing the system in the driveway.
Step 6: Lubrication Done Right (and the WD-40 Mistake)
Lubrication is where homeowners do the most harm with the best intentions, and the WD-40 mistake is the most common one we see. Standard WD-40 is a solvent and light oil, not a lubricant meant for high-load moving parts. On springs, it can strip the factory lubricant and leave the coil running dry. Springs should only be lubricated with a proper garage door lubricant – a spray lithium grease or a purpose-made garage door spray. And even then, only after the spring has been checked by a technician, because lubricating a failing spring makes it look fine while the metal keeps losing tension.
Which product, where:
- Use: A garage door lubricant, light grease, or white lithium grease for metal-on-metal contact points.
- Rollers: One drop on each roller bearing, not a spray down the wheel. Nylon rollers don’t need lubricant at all.
- Hinges: A drop at each hinge knuckle. Wipe away drips so grit doesn’t collect.
- Tracks: Don’t grease the track itself. Wipe it clean; lubrication in the track attracts dirt that makes things worse.
- Springs: A light spray of garage door lubricant along the coil, after a technician has signed off on their condition.
Never use a heavy grease that collects grit, and never use WD-40 as a substitute for a lubricant. Do this once or twice a year, and do it after cleaning, not before. If you’re not sure which product is right for your door, ask a tech when you next have the door serviced.
The Fishers Seasonal Calendar: What to Check Before a Hard Freeze
Garage doors here live through a genuine swing: humid, warm summers and hard, cold winters with frost and road salt. The garage is often the coldest, dampest room in a Fishers house, which is why the same checklist done in June won’t catch the same problems in October. The most useful thing you can do is run the check in late September or early October, before the first hard freeze, and again in spring.
October matters because the first hard freeze is when small problems fail loudly. Here’s what to prioritize before the freeze:
- Balance test again: Once the temperature crashes, the door will feel different. Get a baseline in early fall so you know what “normal” looks like in the cold.
- Bottom seal: Replace a cracked seal before the first freeze if you can. A brittle, torn seal lets cold air and water in and can freeze to the floor, which puts strain on the opener when you open it.
- Lubrication: Apply garage door lubricant to rollers, hinges, and (if a technician has checked the springs) the coils before the cold. Cold metal and dry moving parts is a bad combination.
- Track cleanliness: Sweep out grit and salt residue from tracks before it turns into a gritty paste in cold weather.
- Opener gear and rail: Listen for straining. Cold doors are heavier doors, and a worn opener shows up first in winter.
- Cables: Look for rust and fraying before the season, because a cable that fails in winter is a door you don’t want hanging open in a cold garage.
If you only run a maintenance pass once a year, do it in October in Fishers. If you can manage two, add one in April after the frost has finished moving the ground. Homeowners in Fishers who run the fall check consistently spend less on repairs the following spring.
DIY-Safe vs. Technician-Only: Where the Line Sits and Why
The line is not arbitrary: it’s the point where the part stores enough energy to hurt you. Anything that moves the door up and down, holds tension, or controls the load is technician territory. Anything that just guides, seals, or cleans belongs to you. Here’s the split, and the reason for each item.
- DIY-safe: Visual inspection of rollers, hinges, panels, and weather seals. Cleaning tracks. Wiping sensors. Lubricating rollers and hinges. Replacing the bottom seal. Testing the balance and safety reversal. Checking the sensors. These are low-energy, low-load, and low-consequence if done wrong.
- Technician-only: Spring adjustment or replacement, cable replacement, drum adjustment, and any track realignment that changes the door’s load. These parts hold the full weight of the door or store tension. A spring that releases under the wrong hand is a serious injury, and a cable that snaps can do the same. Bending a track back on a loaded door can throw the door off it.
- Gray area: Replacing a safety sensor, adjusting the opener’s force settings, and replacing a bottom bracket. The bracket holds a cable, so that one is technician work. Sensors and opener settings are generally homeowner jobs if you have the manual, but the manual is the right guide, not a guess.
If you’re not sure where a job lands, ask. The garage door repair work we do is mostly on the technician side of this line, and a call costs you nothing but the answer.
Common Mistakes to Avoid
- Skipping the rollers. They look like the least important part, and they’re the most common root cause of track and opener trouble. Check them every pass.
- Spraying WD-40 on the springs. Standard WD-40 strips lubricant rather than adding it, and it’s the number one home maintenance mistake we see on Fishers doors.
- Greasing the tracks. Tracks need to be clean and dry, not slick. Grease in a track collects grit and makes the door drag.
- Replacing an opener to fix a balance problem. A small drift in the balance test is usually a spring or cable signal, not an opener failure. Running a new opener on a heavy door wears it out fast.
- Testing the balance with the door under load. Allow the door to settle before testing, and always disconnect the opener first. A test with the opener engaged tells you nothing useful.
- Doing the check once a year in summer. In Fishers, the fall check matters more than the summer one because the first hard freeze exposes every weakness. Make October the priority pass.
- Forcing a door that’s stuck. A door that won’t move, or jumps on one side, is a stop-using situation. Forcing it drags the cables and can pull the door off its track.
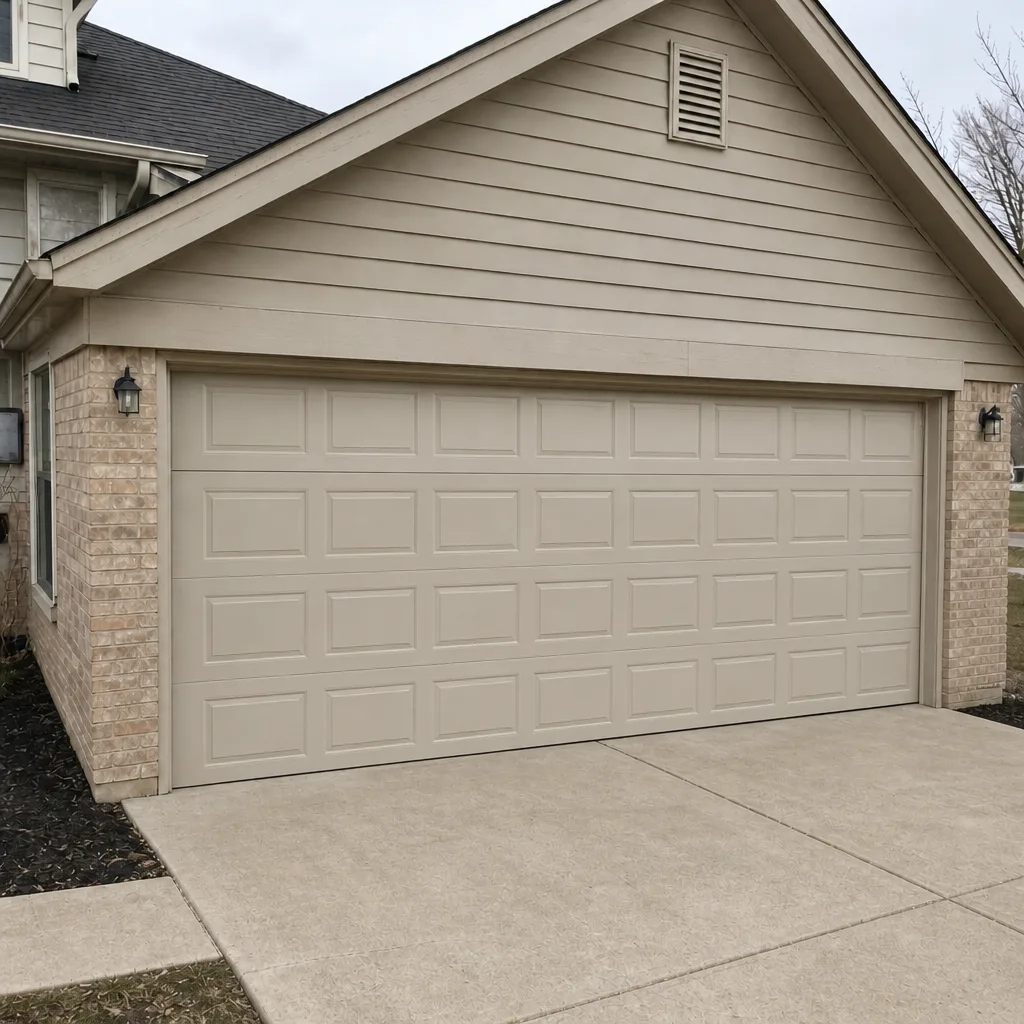
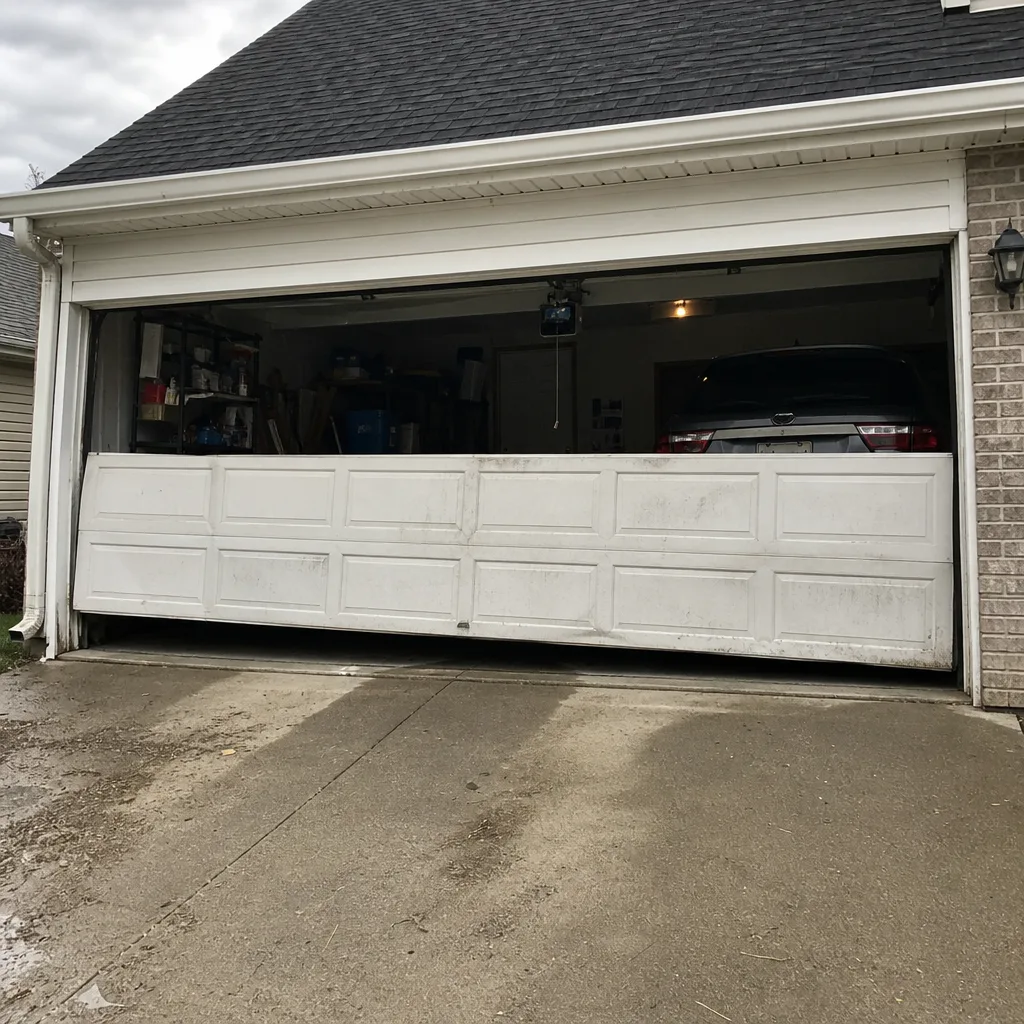
See the difference
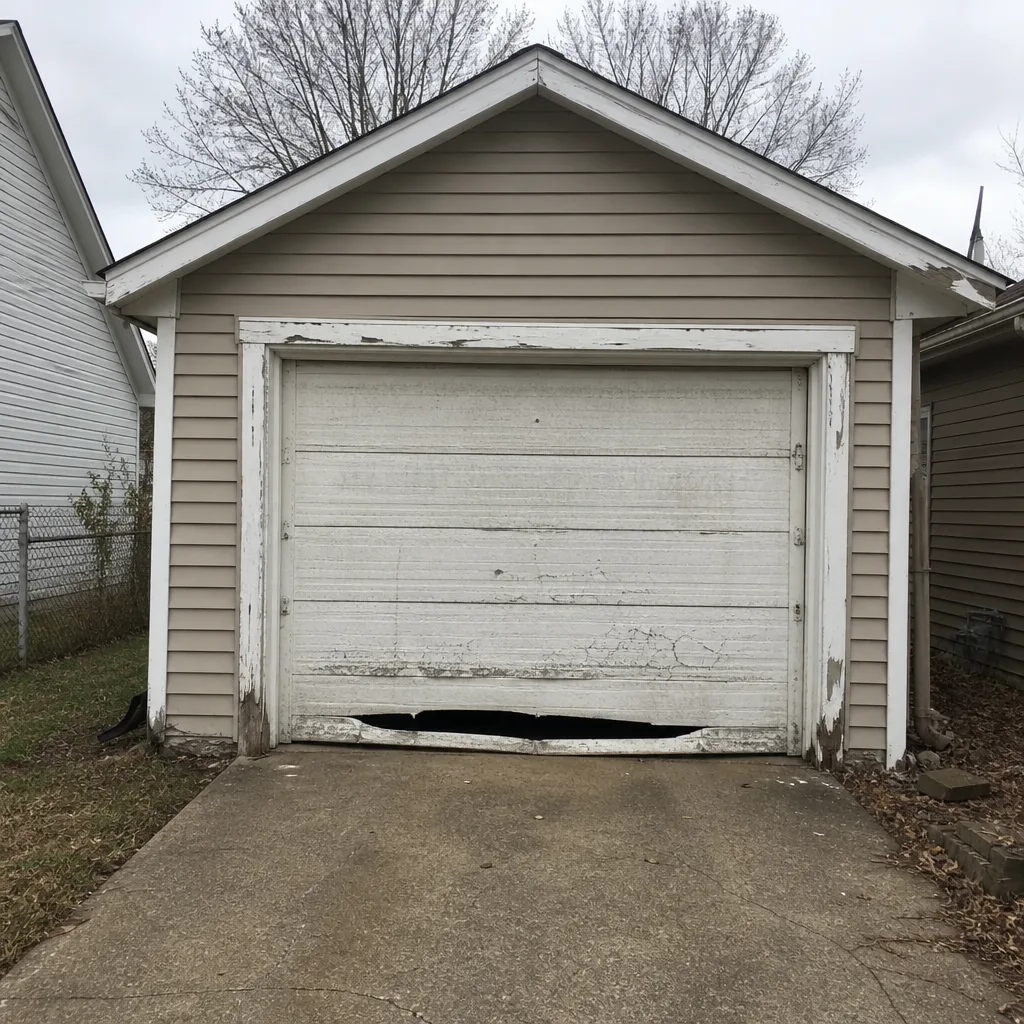 Before
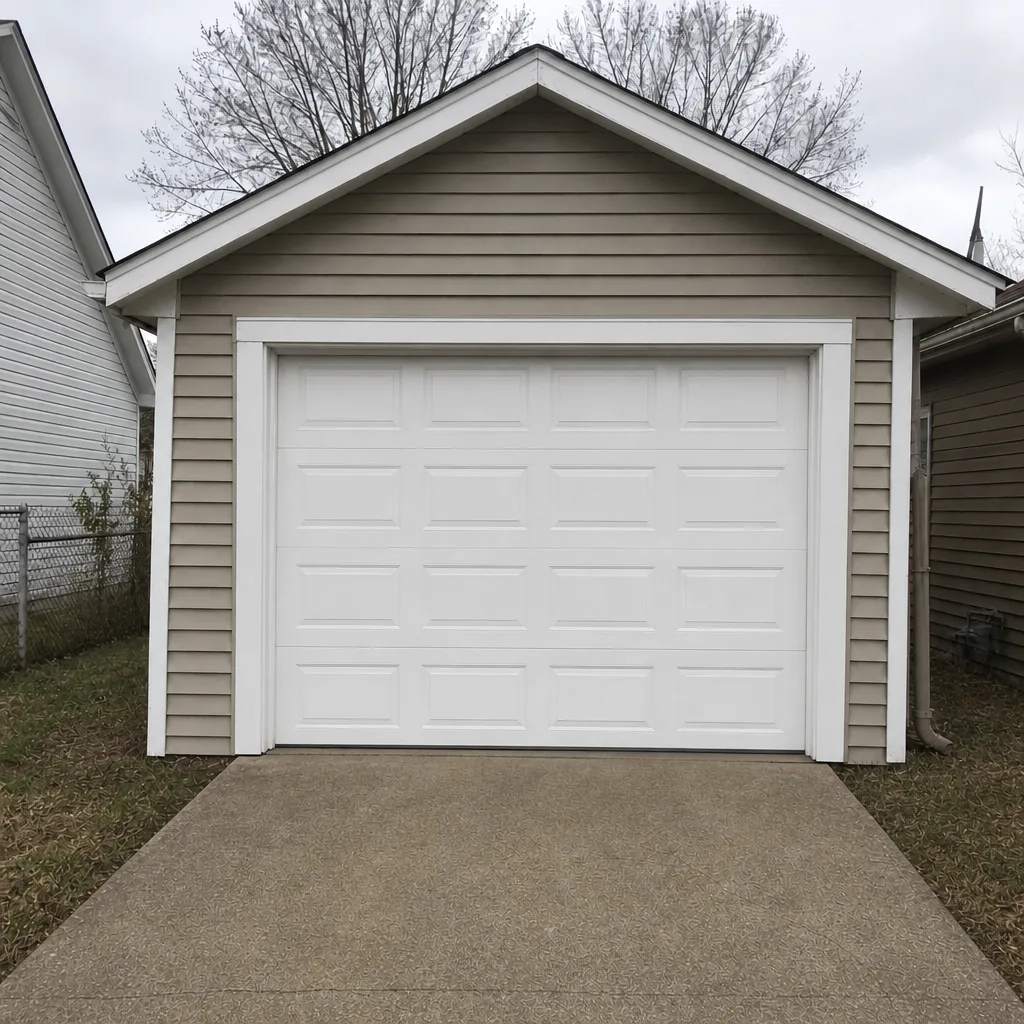 After
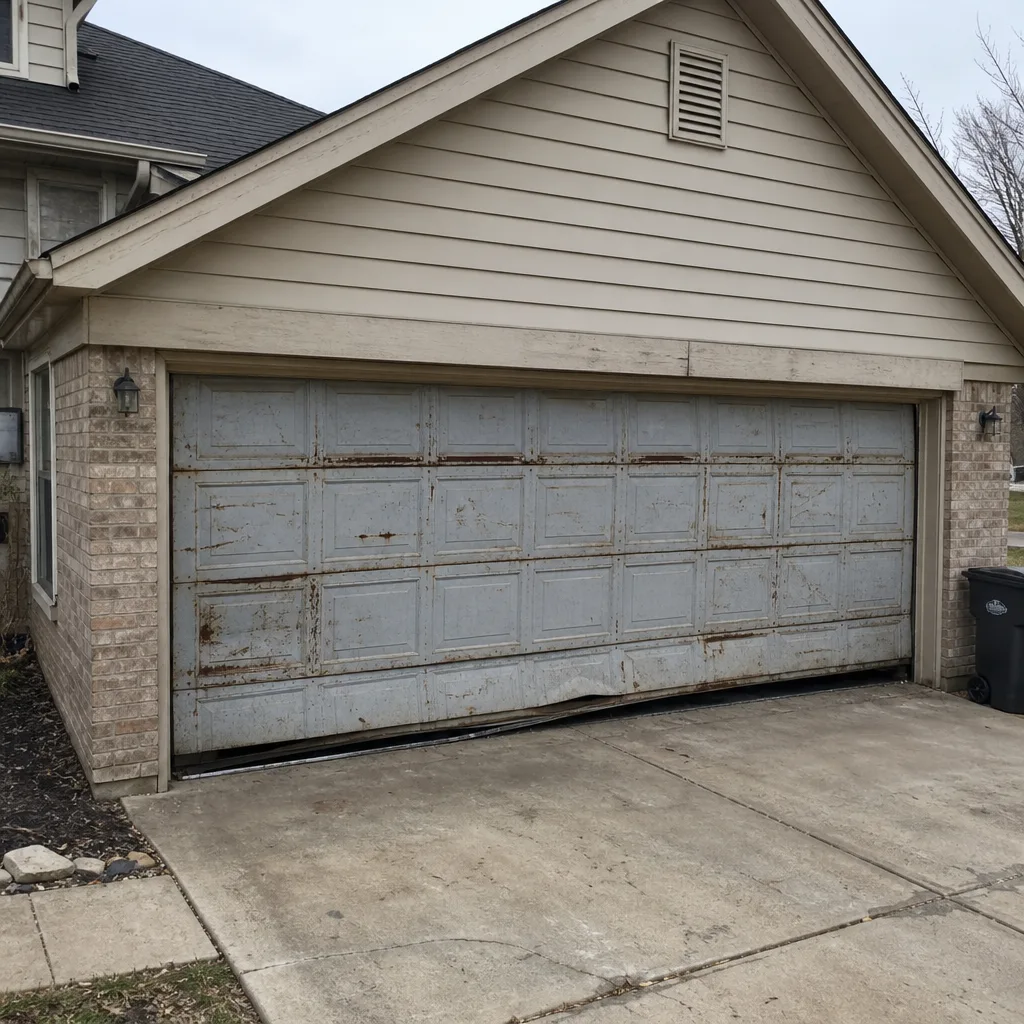 Before
 After
 Before
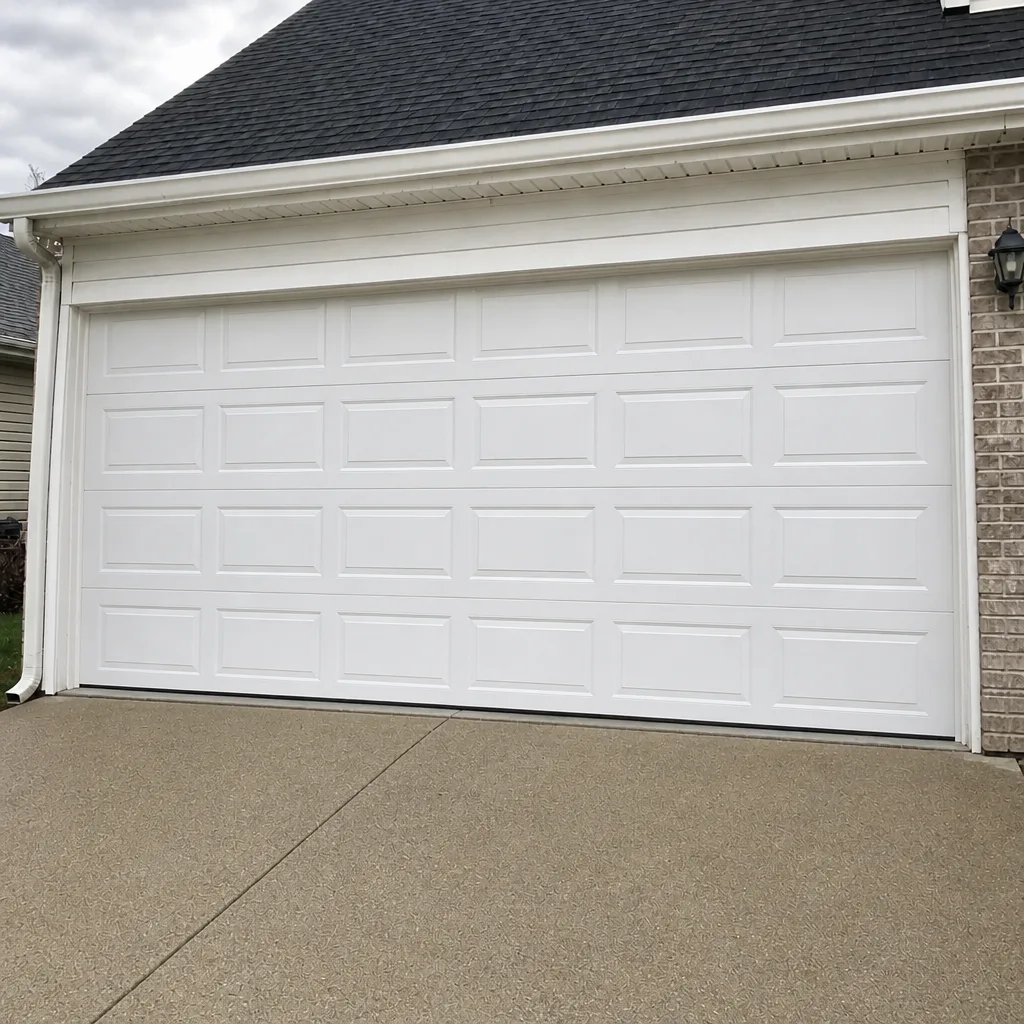 After
When to Call a Professional
Call a professional the moment the door is off its track, a spring is obviously broken or slack, a cable is frayed or loose, or the door won’t hold open in the balance test. These are the cases where continuing to use the door turns a small repair into a big one, or worse. Also call when the door makes a sound you can’t place, when the opener strains or runs without raising the door, and when you’ve done the checklist and the problem persists.
When your door won’t open or close, we treat it as urgent. Emergency service is part of what we do, not a surcharge. If the door is hanging open, or the car is trapped, call rather than wait. And if you just want an expert eye on the whole door before winter, Fishers Garage Door Repair Pros offers free estimates in Fishers. Call (855) 651-5310 and we’ll walk the same sequence with you.
Frequently Asked Questions
Twice a year, with the fall check being the more important one. The late-September or October pass catches wear before the first hard freeze, when cold metal and a heavy door put the opener under the most strain. A spring pass in April covers whatever the winter worked loose. If you can only manage one, make it the fall check.
Half an inch is borderline and usually points to a small loss of spring tension or a cable starting to run unevenly. It’s worth watching, not a stop-using-the-door situation by itself. Test again in a few weeks. If the drift grows, or the door falls rather than drifts, call a technician and take the door off the opener.
Only with the right product, and only after a technician has checked the springs. Use a garage door lubricant or white lithium grease, not standard WD-40, which strips the factory lubricant. Springs are under high tension even at rest, so the inspection and any adjustment belong to a trained hand. If you’re unsure, leave the springs to a tech.
Because off-track usually starts with a slow failure in a cheap part – a dry roller, a loose hinge, a bent track – that nobody looks at. Springs fail too, but they fail suddenly and get noticed immediately. A track issue develops over months and goes unnoticed until the door is already struggling. The checklist order is built to catch those slow failures first.
Yes. The inspection sequence is the same on any residential door, though the spring and cable configuration differs between models. Torsion systems need the springs and drums checked from below; extension systems need the safety cables checked. We work on the brand already in your garage, including Wayne Dalton, Clopay, Amarr, and Genie, and the checks adapt to how that door is built.
When the repair bill, or repeated repairs over a few years, outweigh what a new door gives you back in reliability and winter performance. A door that’s been patched several times, or one with cracked panels and failing hardware, is often better replaced. The inspection sequence in this guide is the same one we use to help make that call, and garage door installation is part of the same work.
The Bottom Line
Sequence beats a to-do list. Hardware before springs, springs before cables, cables before the opener: that order mirrors the way small problems grow into expensive ones, and it’s the order that catches a failing roller before it takes the track and the opener with it. Run the balance test, use the right lubricant (and not WD-40 on the springs), and do the fall pass before Fishers gets its first hard freeze. Most of the checklist is yours to handle. The high-tension parts – springs, cables, drums – aren’t, and they don’t need to be. When something falls outside that line, or the door’s already off its track, one call covers repair, opener work, spring repair, installation, and emergencies. The team at Fishers Garage Door Repair Pros covers it all under one specialty: garage doors only.
Ready to book a check before the weather turns? Call (855) 651-5310 for a free estimate from Fishers Garage Door Repair Pros. Our technicians have up to 9 years of experience and come out already familiar with the brand in your garage.
Written by the team at Fishers Garage Door Repair Pros.