Last updated November 21, 2026
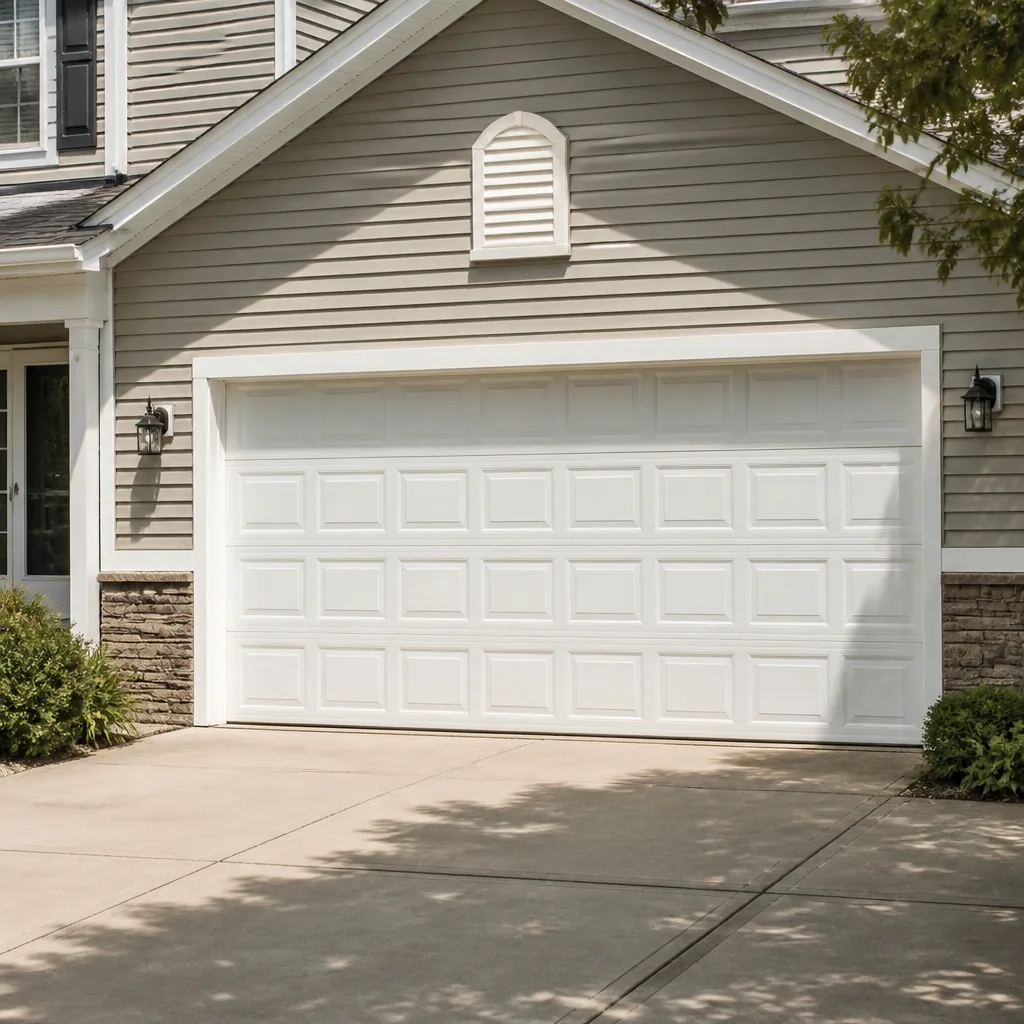 Raised-panel steel
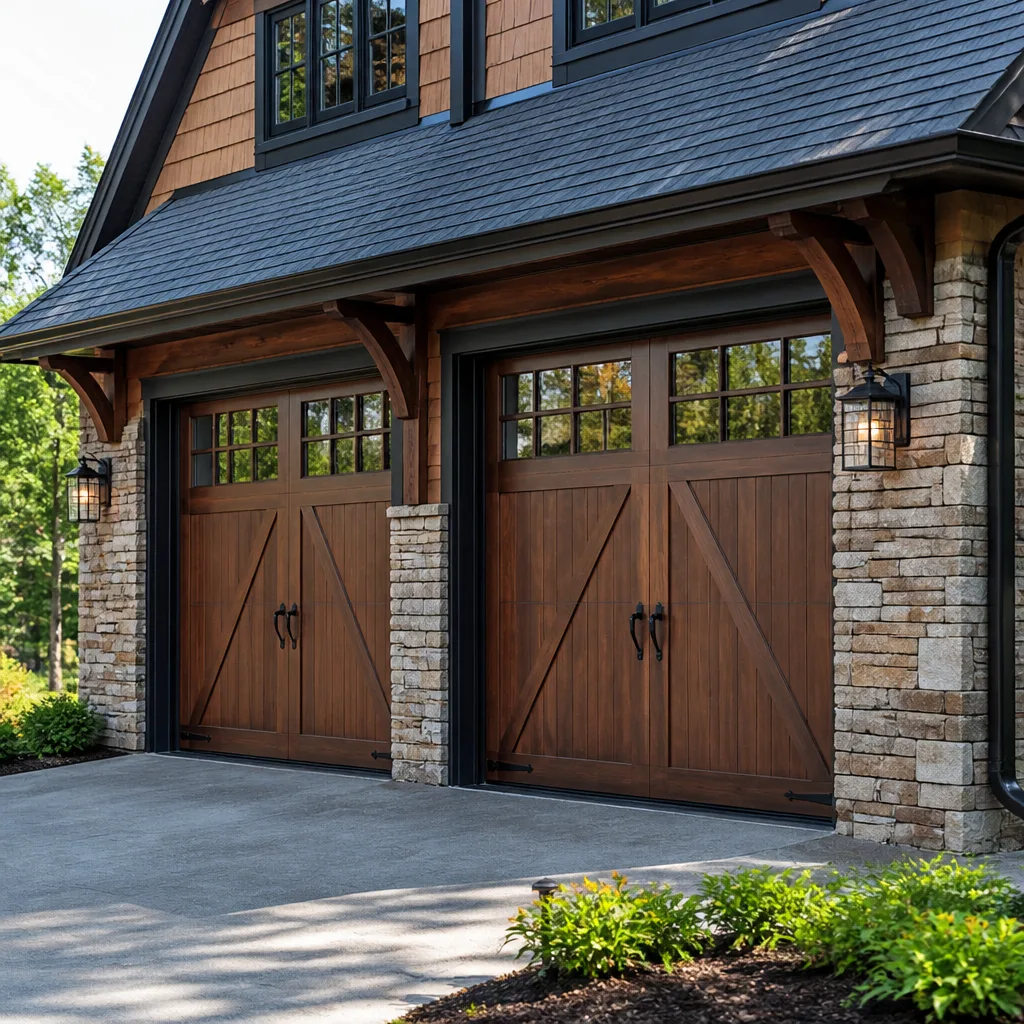 Carriage house
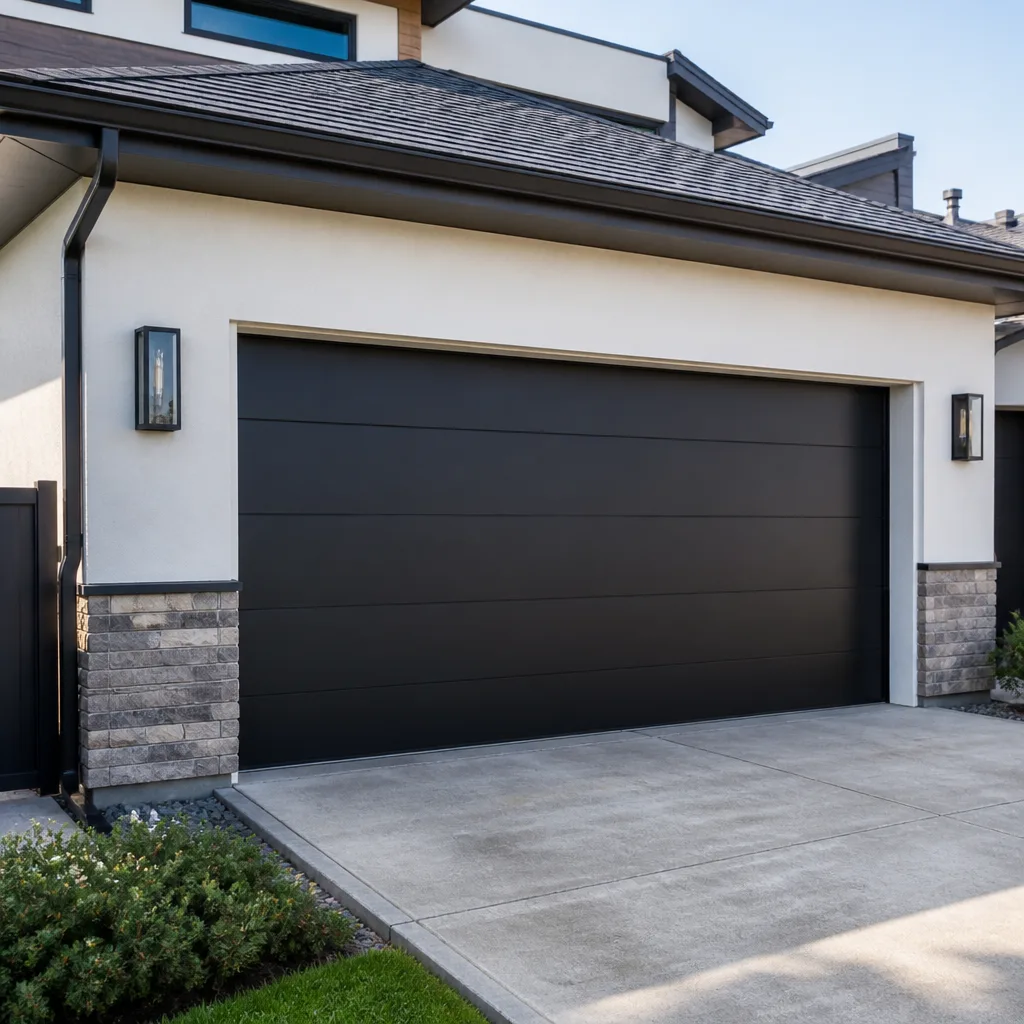 Modern flush
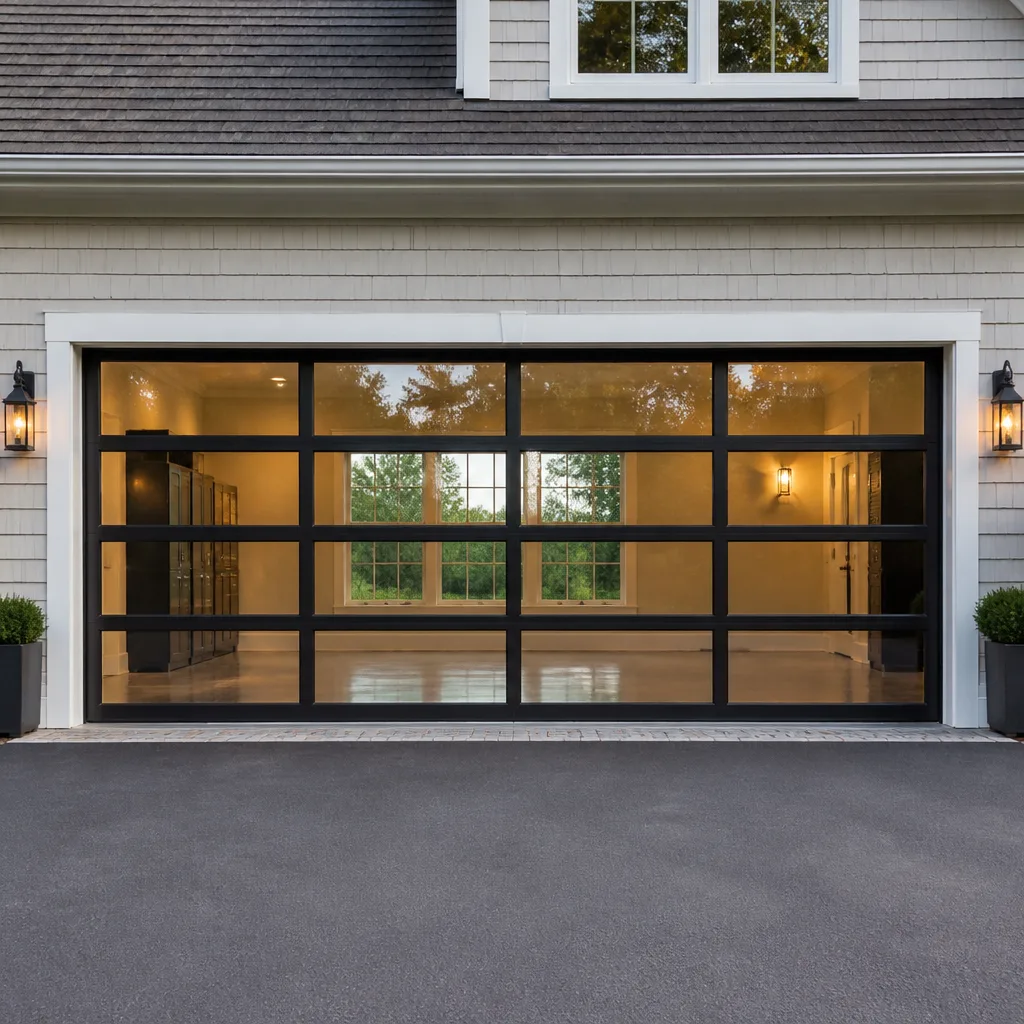 Full-view glass
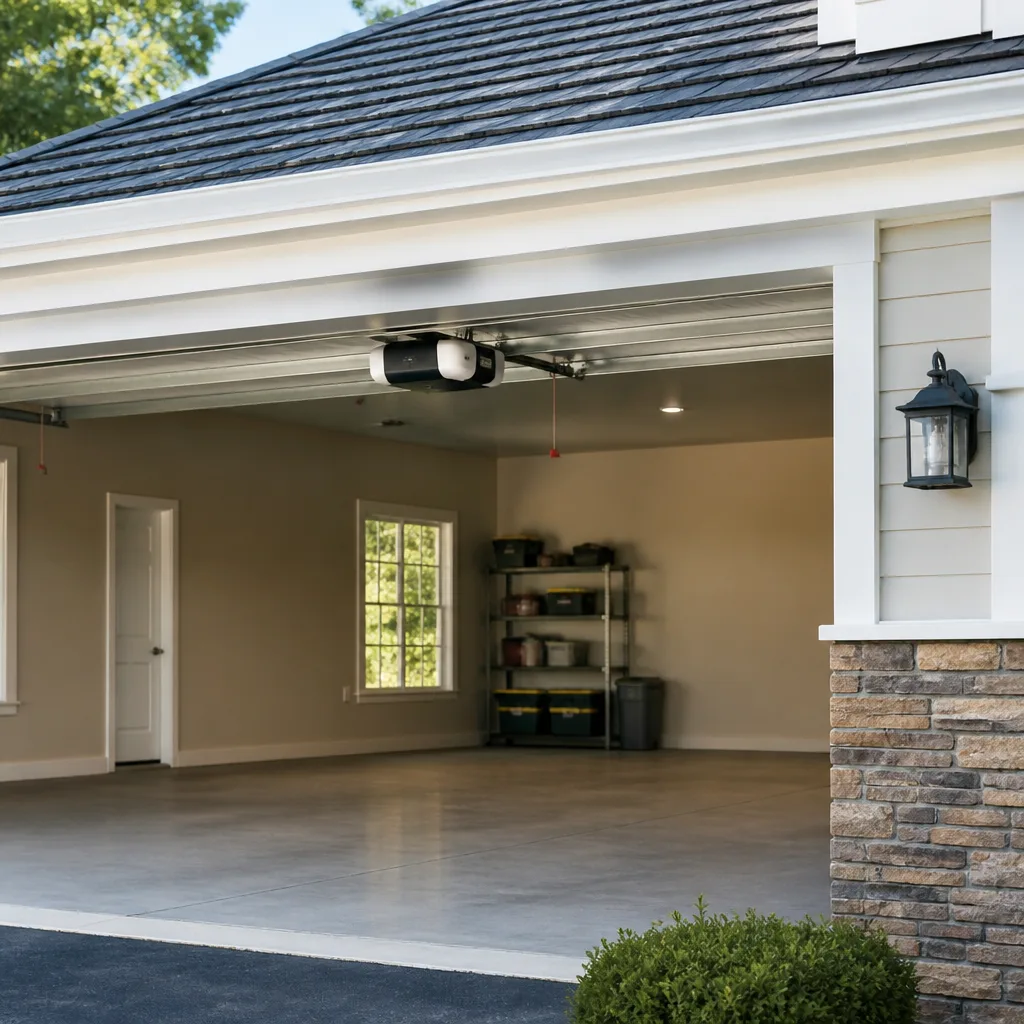 LiftMaster openers
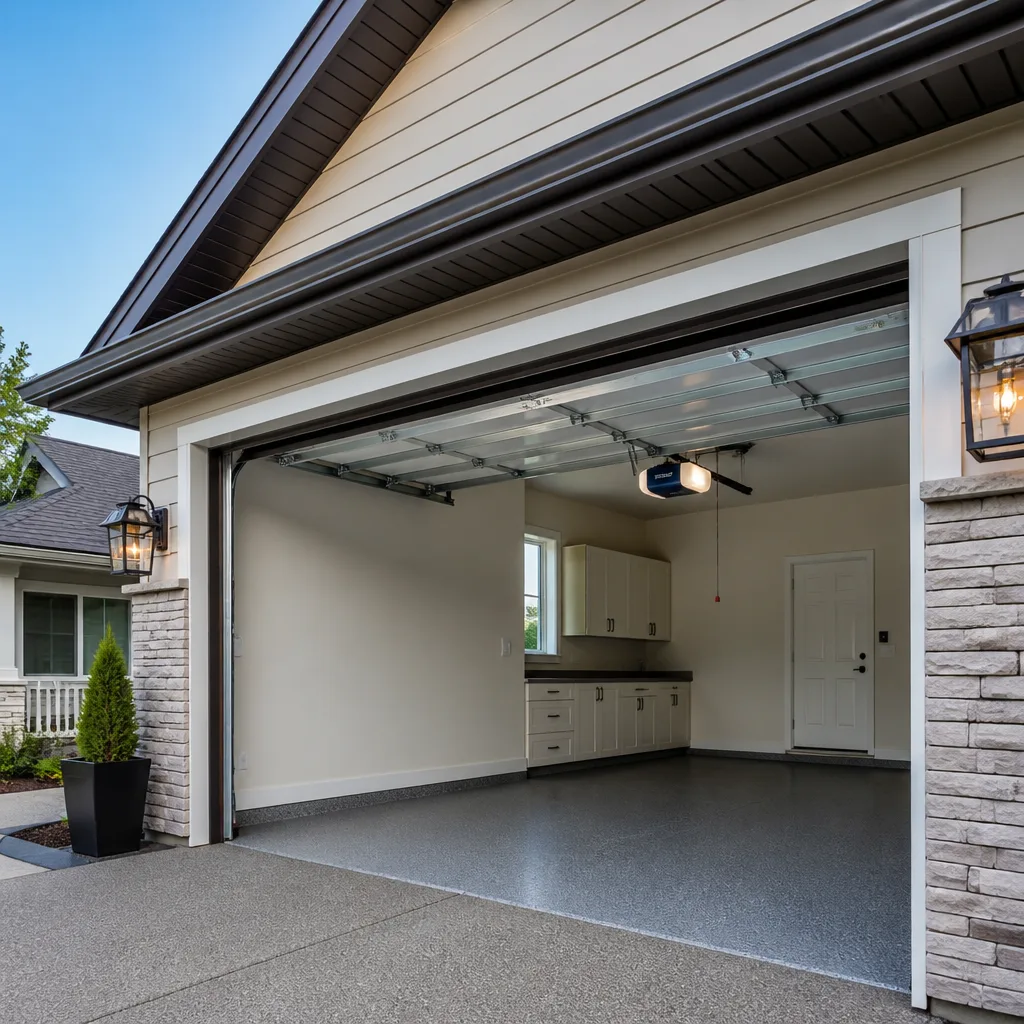 Chamberlain openers
Full 25-point door and opener safety check with every visit - springs, cables, rollers, tracks, and your LiftMaster or Chamberlain opener included
You get a price before we start. It does not change when the pro arrives.
Get your free estimateDIY vs Professional Garage Door: The Fishers Homeowner’s Decision Guide
Garage door springs store enough energy to cause serious injury when they fail during adjustment. That’s not a scare tactic, it’s physics: a torsion spring under tension releases all of it at once if a winding cone slips or a cable snaps free, and nothing about a homeowner’s confidence changes that. But here’s the part most guides leave out: that danger is contained to exactly two tasks, and everything else on a garage door is genuinely within reach for a capable homeowner with the right tools. This guide draws the line precisely, task by task, so you can decide what to do yourself and what to hand off. We’ll cover tools, the real cost math for Fishers, and the DIY mistakes that quietly turn a small repair into a bigger one.
Quick Answer
You can safely handle most garage door maintenance yourself: lubrication, weather seal replacement, photo-eye cleaning and alignment, roller swaps, track straightening, and balancing checks. Torsion and extension spring replacement, cable replacement, and any work involving the opener’s high-voltage wiring belong to a trained technician. In Fishers, the split matters because most of what fails on a door is not the spring – it’s the small stuff a homeowner can genuinely fix in under an hour.
Styles & brands we work with
- Raised-panel steel
- Carriage house
- Modern flush
- Full-view glass
- LiftMaster openers
- Chamberlain openers
Table of Contents
- The Three-Tier Task Split: Safe DIY, Careful DIY, and Professional-Only
- What Tools You Actually Need (and Which Kits Are a Waste)
- The Real Cost Comparison for Fishers Homeowners
- How to Diagnose Your Own Door Before You Call Anyone
- Where DIY Goes Wrong and Gets Expensive
- How Fishers Weather Shapes What Fails First
- Warranty, Safety, and Resale: The Hidden Factors
- When to Call a Professional
The Three-Tier Task Split: Safe DIY, Careful DIY, and Professional-Only
The mechanical reason for the split is simple: tasks that require releasing stored tension belong to a trained technician, and tasks that don’t are yours if you’re inclined. Tension is the dividing line, not complexity. A roller swap involves a homeowner pushing a hinge aside. A spring swap involves releasing hundreds of pounds of stored rotational force in a controlled way.
Tier 1: Safe DIY
- Lubrication – hinge pins, rollers, tracks, and the torsion bar bearings. Twice a year keeps noise down and reduces wear.
- Photo-eye alignment and cleaning – the safety sensors at the bottom of the tracks. Nine times out of ten, a door that won’t close is a sensor problem, not a door problem.
- Bottom weather seal replacement – the rubber or vinyl strip along the bottom edge. Slides out, slides in, done.
- Bracket tightening – loose hinge and bracket bolts cause rattling and accelerated wear.
- Visual inspection – checking for frayed cables, worn rollers, bent tracks, and gap in the seal. Looking is always safe.
Tier 2: DIY With Correct Tools and Research
- Roller replacement – requires a winding bar or locking pliers to hold the door up, and the right roller size. Reading the door’s model number first makes this straightforward.
- Track adjustment – small bends and misalignment can be corrected with a rubber mallet and a level. Anything involving frame brackets or major bends belongs to Tier 3.
- Opener force and travel adjustment – the two dials on the opener body. Getting it right requires reading the opener’s manual and taking the door through a full cycle.
- Remote programming and battery swap – highly brand-specific. A Wayne Dalton or Raynor opener responds to some remote codes differently than a Craftsman unit, and a five-minute manual read saves an hour of guessing.
- Trim and paint touch-ups – purely cosmetic, no tension involved.
Tier 3: Professional-Only
- Torsion spring replacement – the spring above the door stores energy in a torsion shaft. Winding or unwinding it without the correct bars and training is where most serious garage door injuries happen.
- Extension spring replacement – the springs that run along the horizontal tracks. Lower energy than torsion, but still under tension and still dangerous.
- Cable replacement – cables carry the spring tension. Cutting or unhooking one without first releasing tension is extremely risky.
- Opener replacement and high-voltage wiring – the opener’s motor and capacitor have no consumer-serviceable parts, and the 110-volt wiring that feeds a new unit is an electrical task.
- Full door replacement – the door’s weight and the frame’s geometry have to be right, and a mis-sized or mis-secured door introduces a long-term failure point.
- Any structural track or frame work – the tracks and mounting plates attached to the framing are part of a structural system. Moving them off true accelerates wear on every part of the door.
What Tools You Actually Need (and Which Kits Are a Waste)
For the Tier 1 and Tier 2 tasks, a homeowner needs fewer tools than the internet suggests. Here’s the actual list:
- An adjustable wrench – for hinge and bracket bolts, and for the opener’s adjustment turnbuckles.
- A socket set (metric and SAE) – a 1/2-inch drive set covers most garage door hardware, and you’ll want deep sockets for the hinge bolts.
- A rubber mallet – track straightening and seal seating.
- A 4-foot level – checking that the door sits square and the tracks are plumb.
- Garage door lubricant – silicone-based or lithium grease, not WD-40. WD-40 attracts dust and dries to a tacky residue.
- Locking pliers – holding the door up during roller work.
- A step ladder rated for your weight – sounds obvious, sounds unimportant, and it’s the tool that prevents the most common household injury around a door.
What you don’t need is most of what’s sold as a “garage door repair kit” online. Bundles that include springs, cables, or winding bars are the ones to skip, because the parts in them are the wrong tension rating for most doors and the bars in them are usually too short to safely hold the spring while you work. Bundles that include only rollers, hinges, and a lubricant are worth buying, provided the roller size matches the door. The right way to buy parts is to read the model number off the inside of the door’s bottom panel or the opener’s body, and match the parts to that number. A Craftsman opener from a given generation uses different travel modules than the current one, and a generic kit won’t account for it.
One tool that’s worth more than any kit: a phone. Our technicians have up to 9 years of experience, and when we work on the brand already in your garage, we’ve usually seen the exact failure you’re describing a dozen times. That doesn’t stop you from doing the safe work yourself. It just means the parts identification part can be a two-minute call instead of a two-day guess.
The Real Cost Comparison for Fishers Homeowners
In Fishers, the cost of DIY versus a professional comes down to three things: the parts, the time, and the risk of a second repair following the first. Here’s the honest comparison for the most common tasks.
- Bottom seal replacement – DIY parts cost is $15 to $40 for a standard 16-foot seal. A technician typically quotes $100 to $200 including the seal and labor. DIY is the better value if you’re comfortable kneeling on a concrete apron for twenty minutes.
- Roller replacement – DIY cost is $30 to $60 for a set of ten rollers. A technician typically quotes $150 to $300. DIY is reasonable here if you use locking pliers and the door is properly balanced.
- Photo-eye repair or alignment – the DIY cost is often zero if it’s dust or a knocked sensor. A technician call is typically $100 to $175 if a sensor or bracket genuinely failed. Always check sensors first.
- Torsion spring replacement – the DIY parts cost is $40 to $80 per spring, but the risk cost isn’t measurable in parts. A professional spring replacement in Fishers typically runs $180 to $340 per spring, and a matched pair is usually replaced together, so budget roughly double that for both. The safety reason is why spring repair isn’t a DIY task.
- Opener replacement – DIY opener cost is $150 to $400 depending on brand features. A professional install typically runs $350 to $700 including removal of the old unit, and it includes wiring the new one correctly. The hidden cost of a DIY opener install is the safety reversal adjustment: a unit set wrong can fail the door’s obstacle-detection test, and fixing that is the call most homeowners end up making anyway.
What doesn’t show up in any of those numbers is time. Most homeowners underestimate the research and adjustment time on a first-time task by double. The other hidden variable is warranty: many door and opener manufacturers void certain coverage if the unit was installed by a non-professional, and most spring manufacturers won’t honor a claim on a spring a homeowner installed. Before you take on a big task, check the warranty terms on the door or opener you own. For installations, replacements, and new doors, the right move is a professional measure and a written quote rather than a same-day call – that work takes measurement and order time, and the price is quoted and agreed before any work starts.
For a deeper look at what a typical repair costs in the area, our garage door repair page breaks it down by task type.
How to Diagnose Your Own Door Before You Call Anyone
Diagnostics are always safe. You’re not releasing tension, you’re observing. Doing this five-minute check means that when you call, you can describe exactly what’s happening, and that changes the conversation entirely.
- Watch the door open and close from inside the garage. Note where in the cycle it hesitates, binds, or makes noise. Halfway up usually means spring or cable. At the top or bottom means opener travel or track.
- Check the photo eyes. Look for the small LED on each sensor at the bottom of the tracks. If one is off or flickering, clean the lens with a dry cloth and check that both are aimed at each other.
- Pull the release cord and lift the door by hand. A properly balanced door lifts with modest effort and stays where you leave it, halfway open. If it drops or is very heavy, the spring is worn or broken.
- Look at the springs. A torsion spring above the door with a visible gap in it is broken. Two extension springs along the tracks should be intact and even. Don’t reach for them – just look.
- Test the safety reversal. Put a two-by-four flat on the floor under the door and close it. The door should reverse on contact.
- Check the wall control and remotes. If the wall button works and the remote doesn’t, it’s a remote or receiver issue. If neither works, it’s the opener or power.
- Note the make and model. The door’s model number is usually on the inside of the bottom panel, and the opener’s on the back of the unit.
If you live in a Fishers neighborhood like Saxony or Thorpe Creek, where doors face the afternoon sun for a large part of the day, add one more check: the weather seal. Sun-baked seals dry out and crack faster than shaded ones, and replacing a $30 seal before it lets water in is the cheapest fix on this list.
Where DIY Goes Wrong and Gets Expensive
We’ve been called out to more than a few Fishers homes where a DIY attempt has made the final repair bigger. Here’s what usually happened:
- Tightening a spring that was already broken. A broken torsion spring has no tension left in the broken section but plenty in the intact one. A homeowner trying to “adjust” it can end up with a twisted shaft and a bent center bracket. The repair then costs more than the spring itself.
- Using WD-40 on the rollers and tracks. It cleans well and lubricates for about a week, then attracts grit. The rollers wear faster and the noise comes back louder. The fix isn’t expensive, but the damage to rollers and bearings is.
- Overtightening hinge bolts. The bolts need to be snug, not torqued. Overtightening cracks the hinge plate and puts the door slightly out of square. A technician then has to realign the door before fixing whatever the original issue was.
- Cross-threading the opener’s chain or belt tension bolt. A cross-threaded tensioner strips the adjustment range, and on some brands the entire rail has to be replaced. That’s a much bigger job than the initial travel-adjustment call.
- Replacing one spring in a pair. Two springs share the load. Replacing one leaves the older one with double the work, and it usually fails within a season, which means paying for a second visit.
- Cutting a cable to release it. This is the most dangerous version of the DIY mistake, and it can’t be undone by any amount of skill. The cable is the connection between the spring and the door. Cutting it releases whatever tension remains in the system.
- Installing an opener without setting the force limits. A unit that closes too hard fails the safety reversal test and is unsafe around children and pets. It’s the most fixable mistake on the list once a technician is on site, and it’s the one that should never have been made.
For a look at what a spring-specific repair actually involves, our spring repair service walks through the process. Spring repair is dangerous work; our technicians are trained specifically for it, and that’s the reason the task sits in Tier 3 and not Tier 2.
How Fishers Weather Shapes What Fails First
Central Indiana’s season swings are hard on garage doors, and knowing which parts take the most abuse tells you what to check first. Fishers winters bring repeated freeze-thaw cycles and road salt tracked in on vehicles, both of which attack the bottom seal and the door’s steel finish. Spring brings wind-driven rain against the door face, which finds any gap in the seal and works its way into the bottom panel. Summer’s heat and humidity swell wood doors slightly and dry out the seals on steel ones. All of it puts the biggest load on the springs and the opener.
The practical upshot: in Fishers, the parts that fail first are usually the seal and the rollers, not the springs. Springs tend to last through the temperature cycling for several years before one finally goes. That means the highest-return DIY maintenance you can do here is a twice-a-year lubrication, plus a seal inspection each fall before the first freeze. Both of those tasks are Tier 1, both cost almost nothing, and both delay the expensive repairs. If you notice your door starting to bind in cold weather but working fine in summer, that’s usually a seal that’s stiffened, not a spring on its way out.
Warranty, Safety, and Resale: The Hidden Factors
Three factors don’t show up on a parts receipt and they matter a lot in Fishers, where plenty of homes change hands and inspections are routine:
- Warranty. Most major door and opener brands require professional installation for full coverage. A homeowner-installed spring or opener may have partial or no warranty coverage, and if a newer door fails within its warranty period after a DIY repair, you may find the claim denied. Before you decide, read the warranty terms on the door or opener you own.
- Safety. A garage door is the largest moving object in most homes, and it’s the one attached to an automatic opener. A door that fails the reversal test, or an opener whose force setting is too high, is a genuine hazard around children and pets. A trained technician verifies the balance, the reversal, and the force settings on every repair, which is why the Tier 3 tasks sit there.
- Resale. A pre-sale inspection will flag a door that doesn’t reverse, a spring with a visible gap, or a track that’s out of plumb. Most buyers ask the seller to fix those before closing, and the work has to be documented. A repair done by a specialist with the right parts is easier to put in the disclosure than a homeowner fix with an unverified part number.
Common Mistakes to Avoid
- Reaching for a spring without the right bars. Winding bars are not a common household tool and homemade substitutes snap under load. If you don’t have the specific bars for the spring size, don’t touch it.
- Assuming a broken spring means a new door. Springs are a wear part, and a broken spring on a door in otherwise good shape is a routine repair, not a replacement signal. Have the door inspected before you start pricing a new one.
- Skipping the balance test before calling for a repair. A door that lifts easily by hand but groans on the opener is likely an opener issue, not a door issue. Diagnosing it yourself first saves a diagnostic fee and points the technician at the right system.
- Buying parts online before checking the model number. The door panel and opener body both carry model numbers for a reason. Matched parts fit; guessed parts get returned or, worse, installed and fail.
- Ignoring a slow-closing or hard-closing door in cold weather. In Fishers, that’s usually a stiffened seal or a door out of balance. Both are cheap to address early and more expensive to address after a hinge or track has worn.
- Using the opener to pull a door that’s binding. The opener is designed to lift a balanced door, not to fight a stuck one. Every cycle against resistance shortens the opener’s life and can strip the drive gear.
- Trying to fix an opener’s internal motor or capacitor. The motor has no user-serviceable parts, and the capacitor can hold a charge after power is cut. This is the one opener task to hand off without attempting.
See the difference
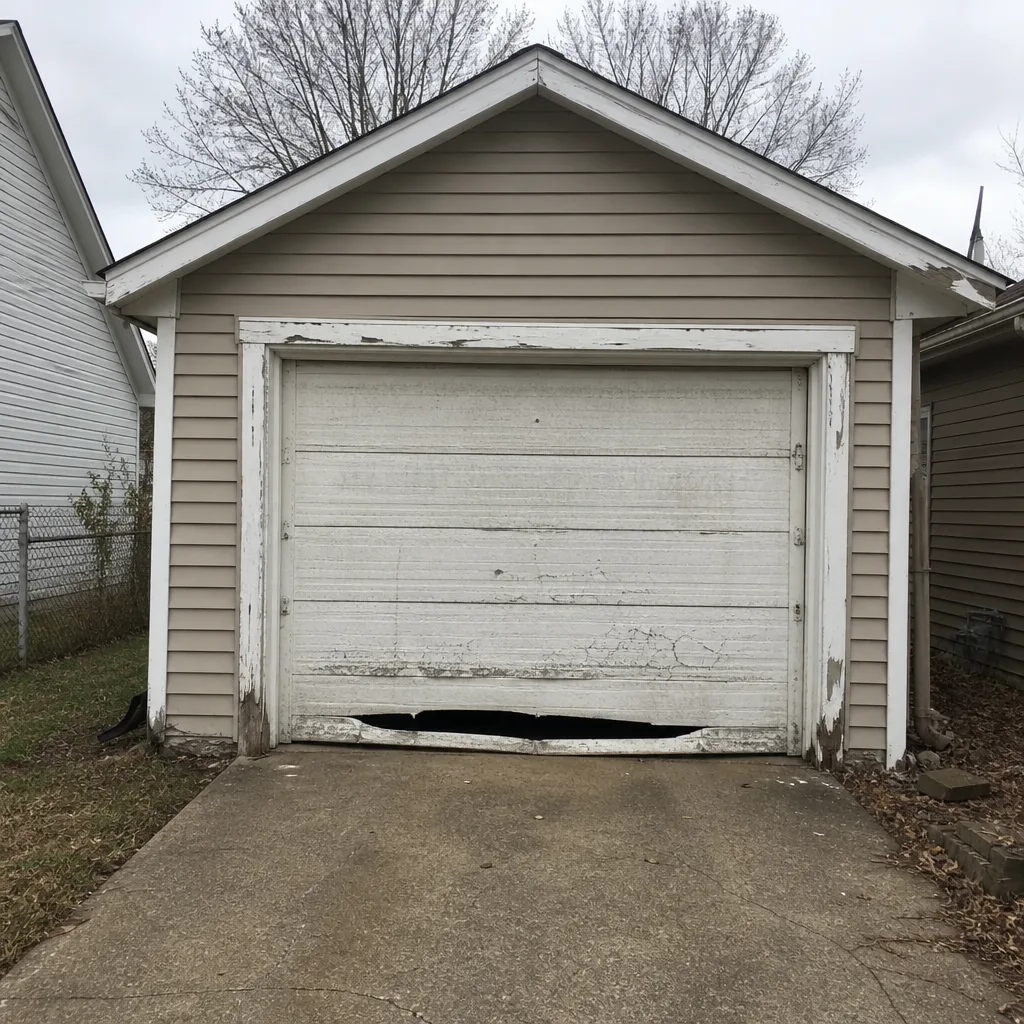 Before
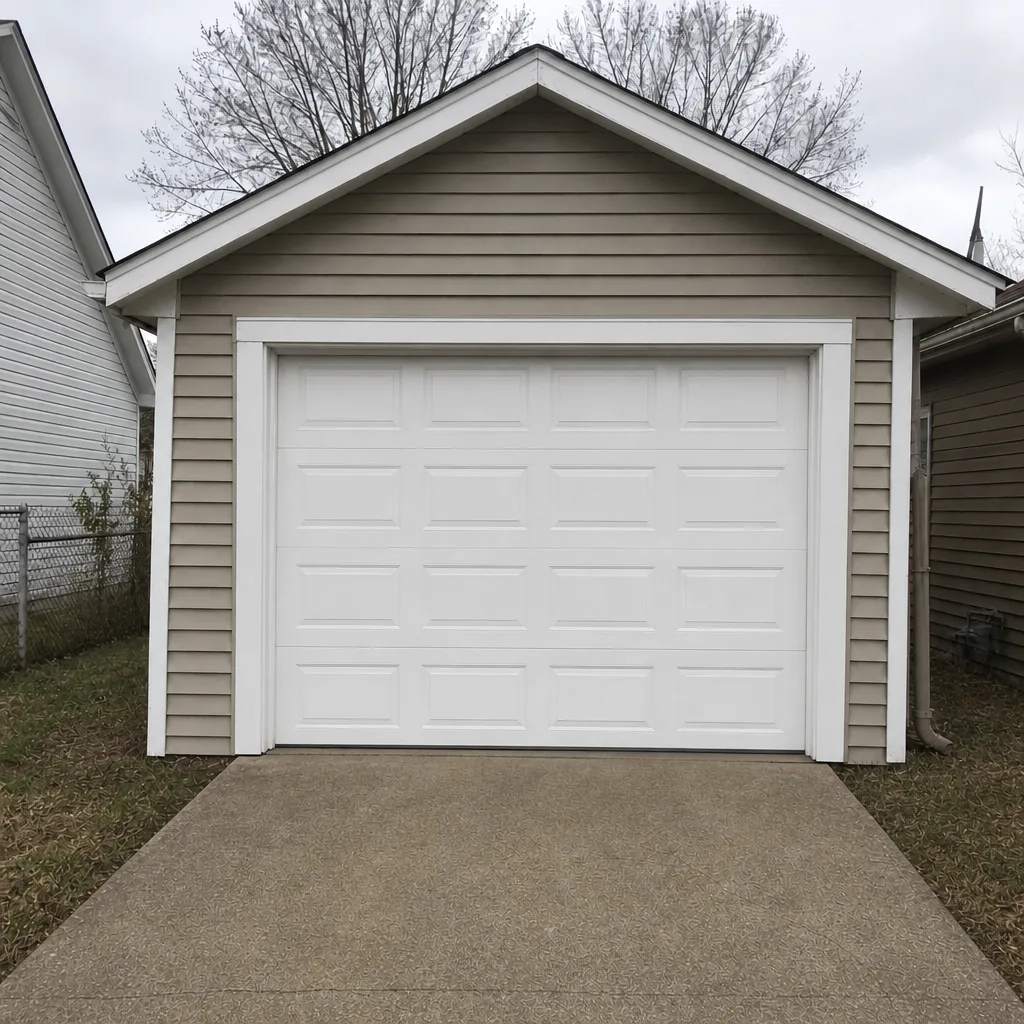 After
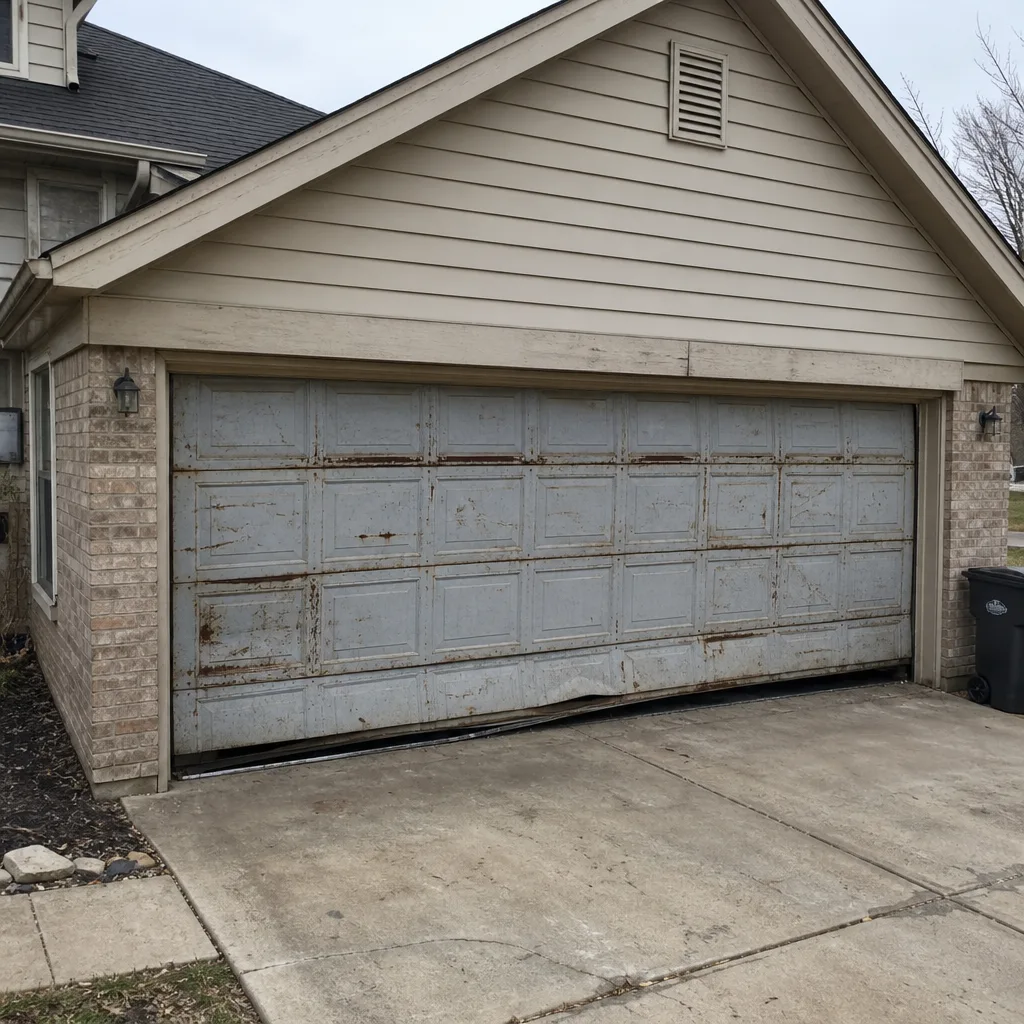 Before
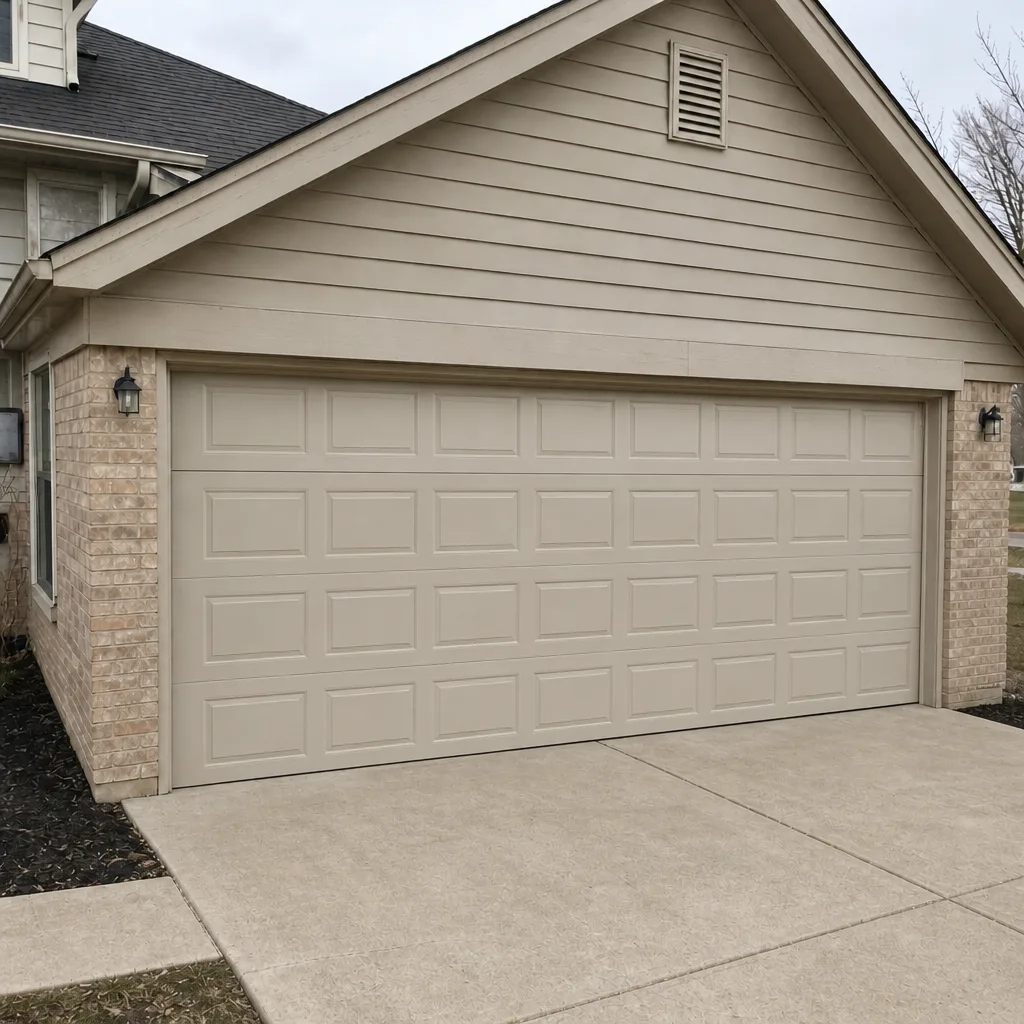 After
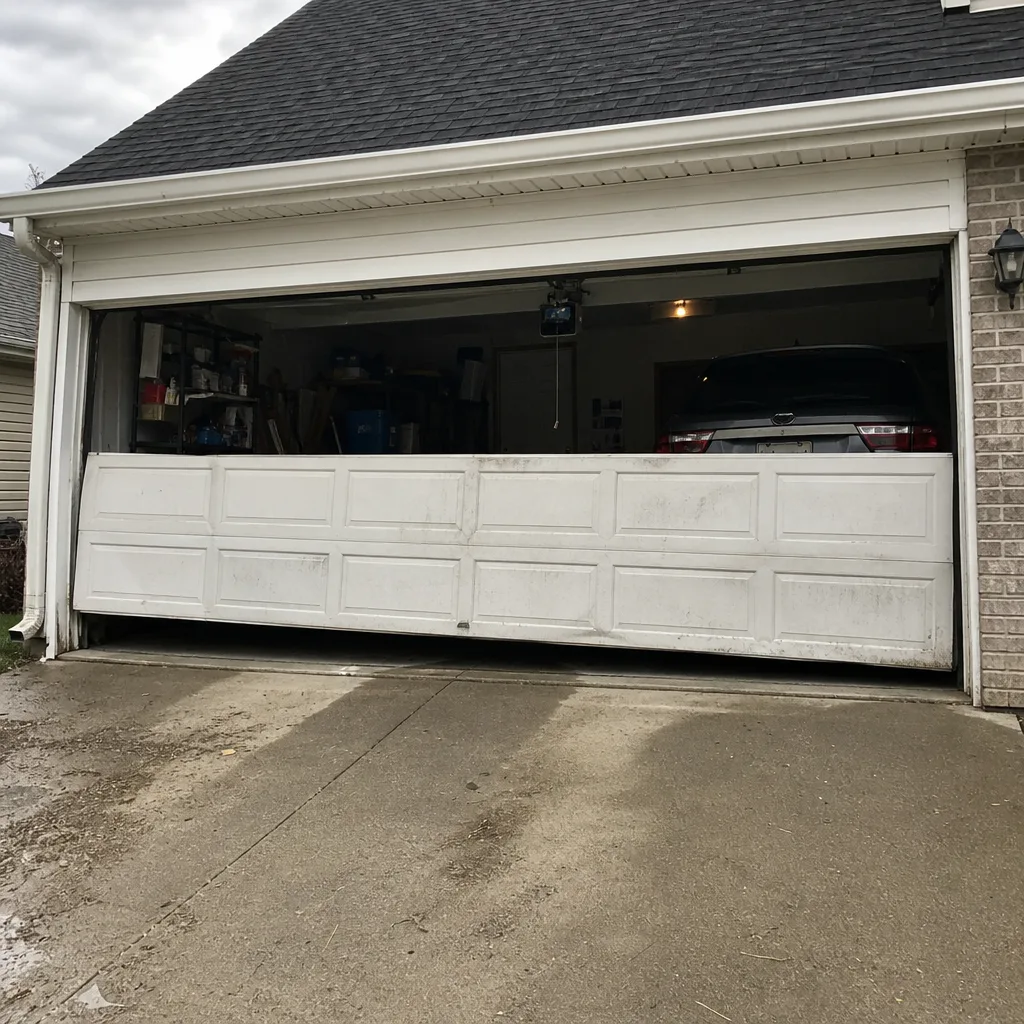 Before
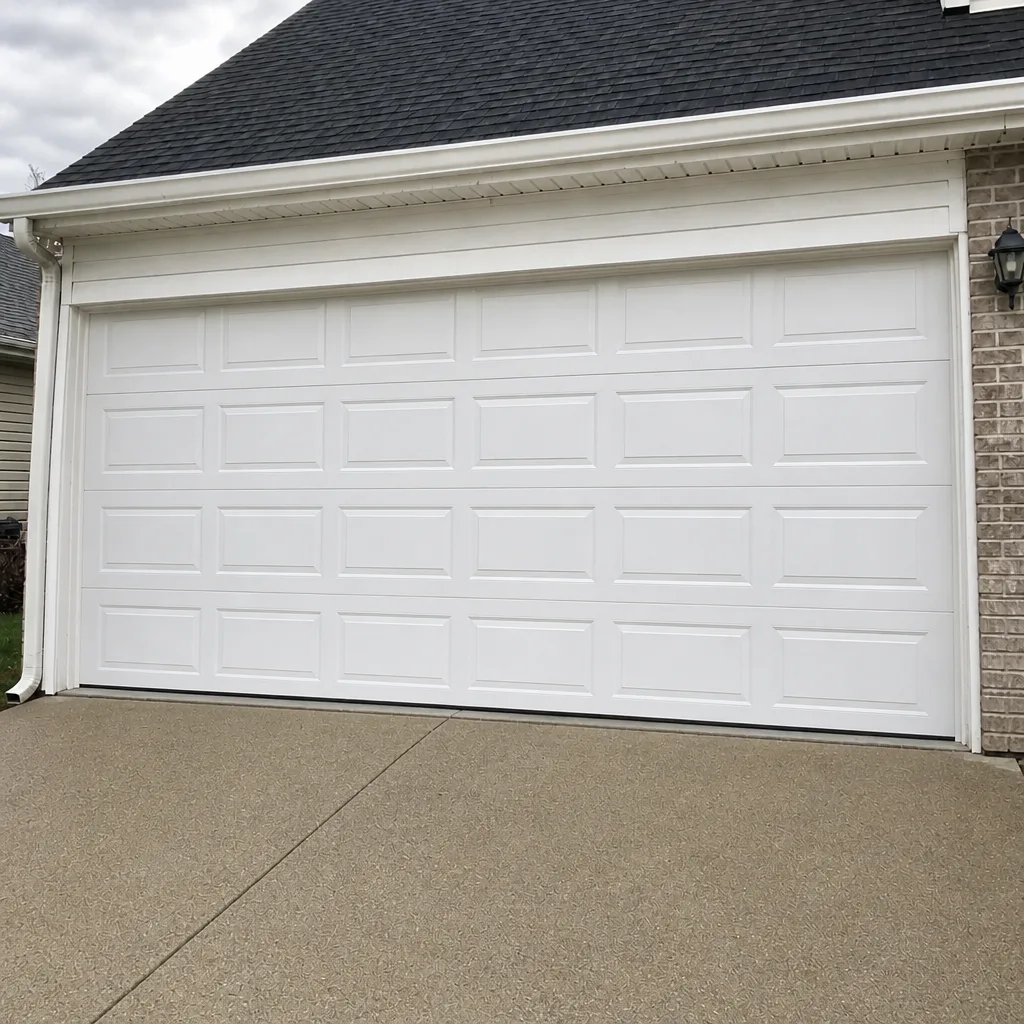 After
When to Call a Professional
Call a trained technician for anything that involves spring or cable tension, the opener’s internal components or high-voltage wiring, and any structural track or frame work. Also call when the door is out of balance or fails the reversal test, even if you plan to do the safe maintenance tasks yourself. Those are the cases where the safety risk and the potential to make the repair bigger both spike. When your door won’t open or close, we treat it as urgent – emergency garage door service is a core part of what we do, covering situations where the door leaves the home unsecured or a vehicle trapped. Fishers Garage Door Repair Pros offers free estimates in Fishers – call (855) 651-5310. Our technicians have up to 9 years of experience, and we work on the brand already in your garage: Amarr, Wayne Dalton, Craftsman, Raynor, and the other major systems, so the conversation starts from familiarity rather than diagnosis on the clock.
If you’re weighing repair against replacement, our garage door installation page covers when a new door makes more sense than another round of repairs. And when the door itself is fine but the opener is struggling, garage door opener repair is the right place to start. Installation, repair, or emergency – one call covers it, and everything we do is garage doors only, so you’re not handing the job to a generalist who fits it in between plumbing calls.
Frequently Asked Questions
You shouldn’t. Torsion and extension springs store enough energy to cause serious injury during removal or adjustment, and the winding bars and training required are not homeowner tools. Spring repair is a professional task, and the local pro is licensed and insured as their state requires. Call (855) 651-5310 for a free estimate on a spring replacement.
Most repairs in Fishers fall between $100 and $340 depending on the task: a sensor or seal fix lands near the low end, a spring replacement near the top. A torsion spring replacement typically runs $180 to $340 per spring, and a matched pair set is roughly double. Prices are quoted and agreed before any work starts. Call (855) 651-5310 for an exact quote.
No. The written estimate sets the price, and it’s agreed before any work starts. If a technician finds something additional during the job, you hear about it before any extra work happens, and you decide whether to proceed. Call (855) 651-5310 to book a free estimate.
The type changes the mechanism but not the answer: both are professional-only. Torsion springs sit on a shaft above the door and store rotational energy; extension springs run along the horizontal tracks and store linear energy. Torsion springs hold more energy and fail more violently, but extension springs can still cause injury and both require correct replacement parts. Either way, spring work belongs to a technician.
For most repairs, yes. Door repair and opener repair are same-day work in the Fishers area whenever a technician and the right parts are available, and emergency calls are handled with urgency. Spring repairs usually need the correct spring on hand, which most jobs do. Installation and replacement are scheduled rather than same-day, since they require a measure and an order. Call (855) 651-5310 to see what’s available.
We’re familiar with LiftMaster, Chamberlain, Genie, Clopay, Amarr, Wayne Dalton, Craftsman, and Raynor systems, and we work on the brand already in your garage rather than steering you toward a replacement. Knowing the system before the technician arrives shortens the diagnostic time. Call (855) 651-5310 with your model number and we’ll confirm what we need to bring.
The Bottom Line
The DIY-versus-professional question on a garage door has a clean answer: maintenance is yours, tension is not. Lubrication, seals, sensors, and visual inspection are safe, cheap, and worth doing yourself, and doing them well delays the expensive repairs. Springs, cables, opener internals, and structural track work belong to a trained technician, and the reason is mechanical rather than commercial. In Fishers, the smart homeowner learns their model numbers, runs the five-minute diagnostic, does the Tier 1 work, and calls for the rest. Fishers Garage Door Repair Pros is here when the second list comes up – free estimates, upfront pricing, and garage doors only. Call (855) 651-5310 when you’re ready, or visit Fishers Garage Door Repair Pros to see the full range of services.
Written by the team at Fishers Garage Door Repair Pros.